Inserting Text Boxes
Unlike cell text, a text box can be placed anywhere in Microsoft Excel as a label or a comment on the worksheet in a separate window.
To insert a text box:
- Go to the Insert tab, then find the Text Box button in the Text section.
- You can now draw a text box—your cursor will immediately change to an inverted cross.
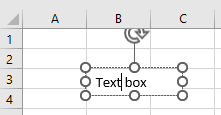
- Click anywhere on the worksheet to create the text box and type inside it.
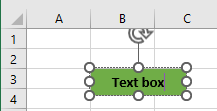
You can change the background color of the text box, as well as the font, size, and color of the text it contains.
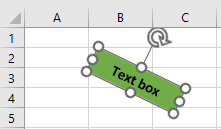
To move it, press and hold the mouse to drag the dotted border to your desired location. You can also rotate it using the rotation handle above the box.
Insert a Text Box Using the Shapes Menu
You can also insert a text box through the Shapes menu:
- In the ribbon, go to Insert > Illustrations > Shapes > Text Box.
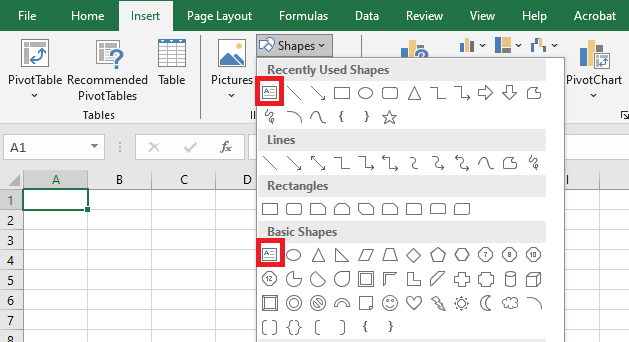
- The Text Box icon will also appear in the Recently Used Shapes group if you’ve inserted one recently.
How to Remove the Text Box Border
- Click the text box. A new tab will appear in the ribbon: Shape Format.
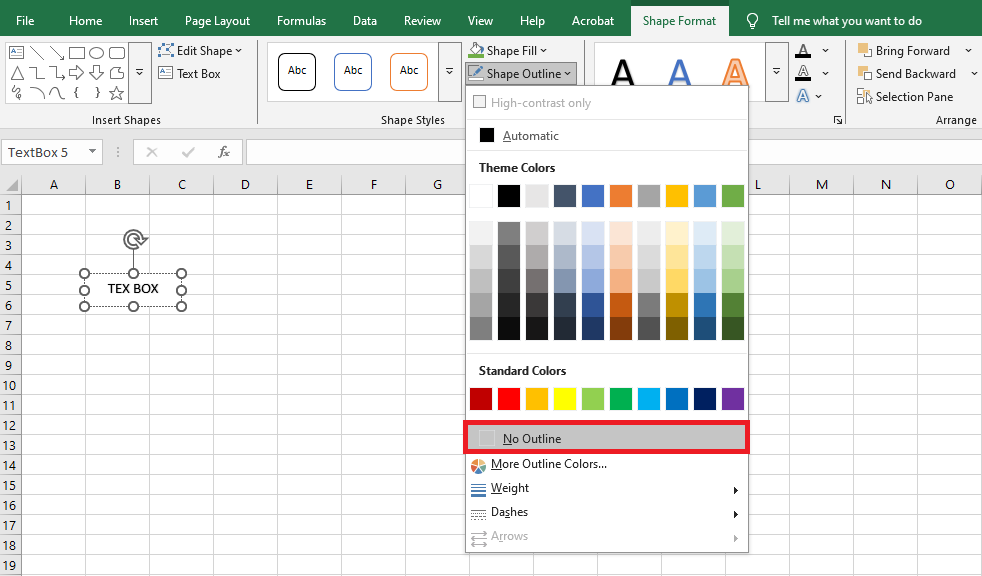
- Go to Shape Format > Shape Outline > No Outline to remove the default border.
You can also use Shape Fill to change the fill color and Text Fill to change the text color.
Using Shapes
Excel gives access to various customizable graphic objects called Shapes. You may want to insert shapes to create simple diagrams, display text, or add visual interest.
Keep in mind: Shapes can add unnecessary clutter. Use them sparingly—they should enhance, not dominate.
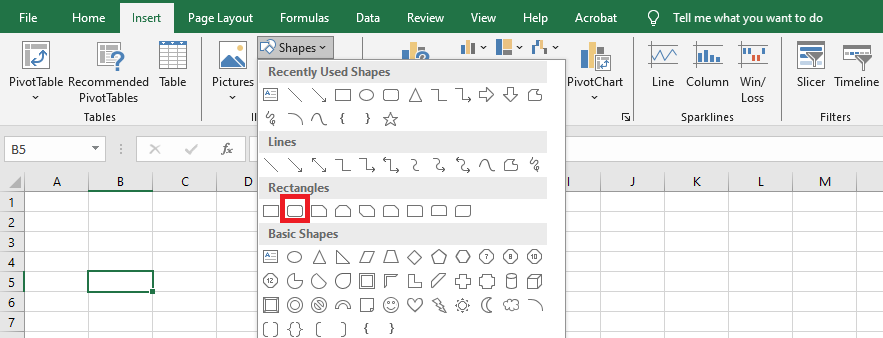
Inserting a Shape
To add a shape:
- Go to Insert > Illustrations > Shapes to open the Shapes gallery.
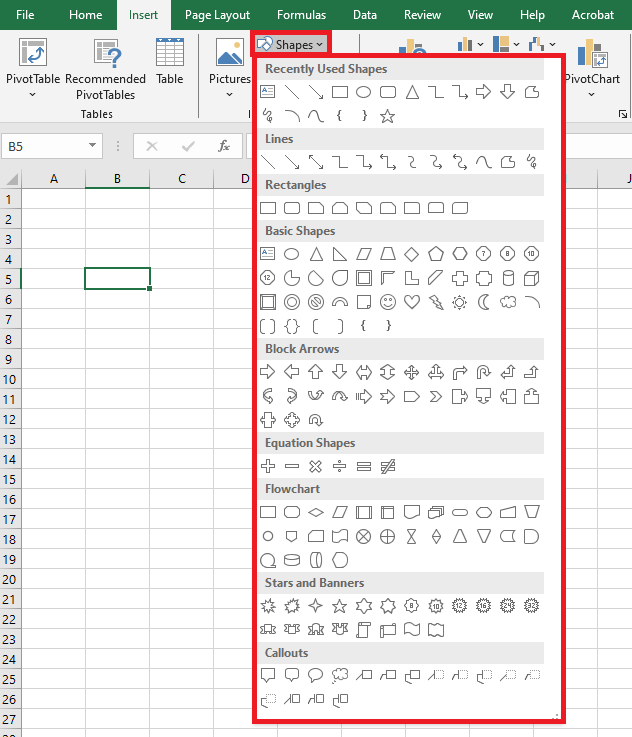
- Shapes are grouped by category, with Recently Used Shapes at the top.
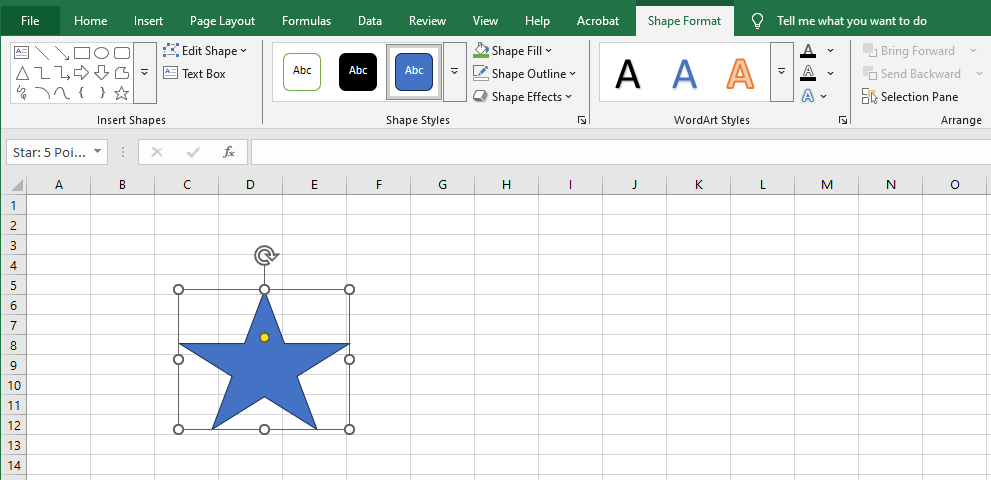
To insert a shape:
- Click a shape, then click anywhere on the sheet to place it with default size.
- Or, click and drag to define custom size and proportions.
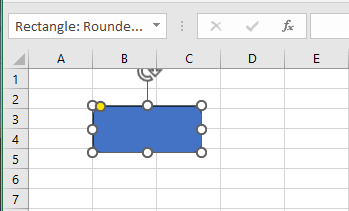
Once placed, the shape is selected and named.
You can also insert a shape inside a chart. Just select the chart first, then insert the shape—it becomes embedded and moves/resizes with the chart.
Some shapes require special drawing:
- Freeform: Click repeatedly to create lines, or click-and-drag for irregular shapes. Double-click to finish.
- Curve: Click multiple times.
- Scribble: Drag the mouse pointer freely; closing the shape will make it filled.
Tips:
- Shapes have names (e.g., “Rectangle 1”). You can rename them in the Name Box.
- Click a shape to select it.
- Hold Shift while dragging to maintain proportions.
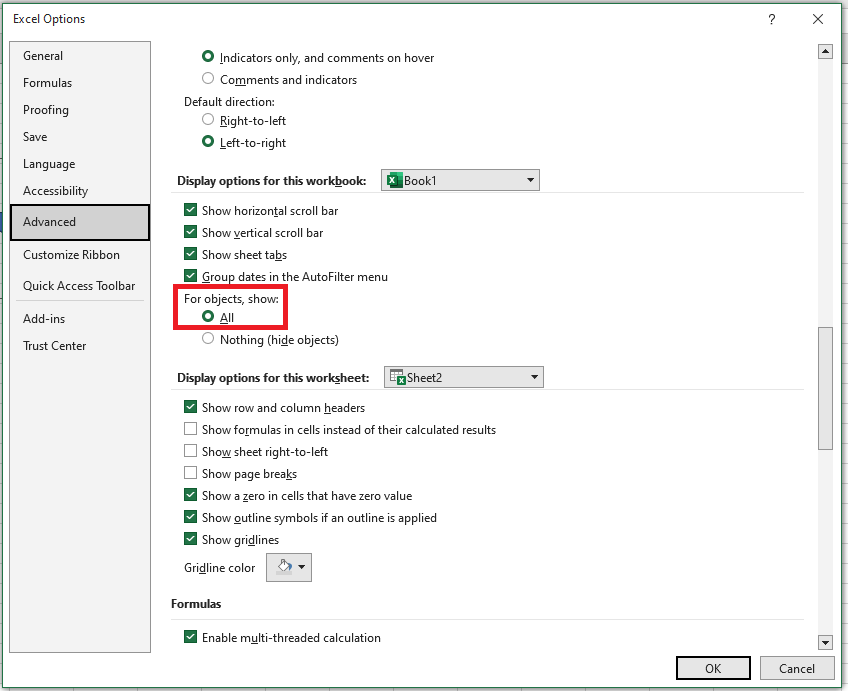
- Hide/display all objects via File > Options > Advanced > Display options for this workbook.
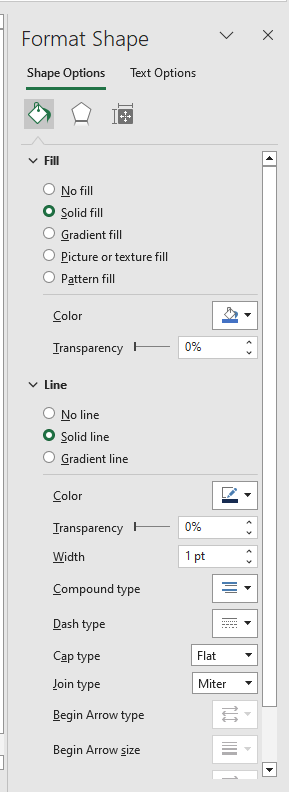
Modifying Shapes
To modify a shape:
- Click to select it.
- Right-click and choose Format Shape.
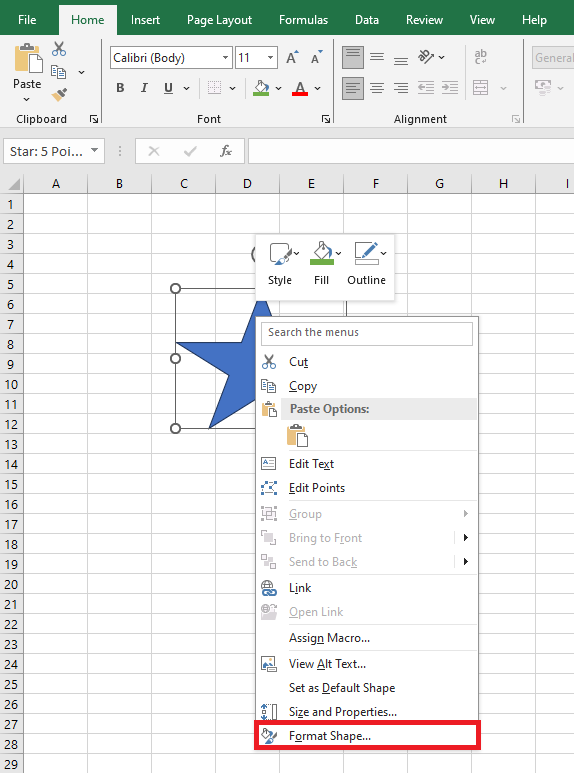
- The Format Shape pane appears on the right. You can adjust fill type and color, border color and thickness, add shadows, glow, reflections, and more.
Using Shapes as Macro Buttons
You can use a shape (e.g., a rounded rectangle) as a macro button:
- Go to Insert > Illustrations > Shapes, then pick a shape.
- Click the sheet to insert the shape.
- The shape appears with a default name.
To make it look like a button:
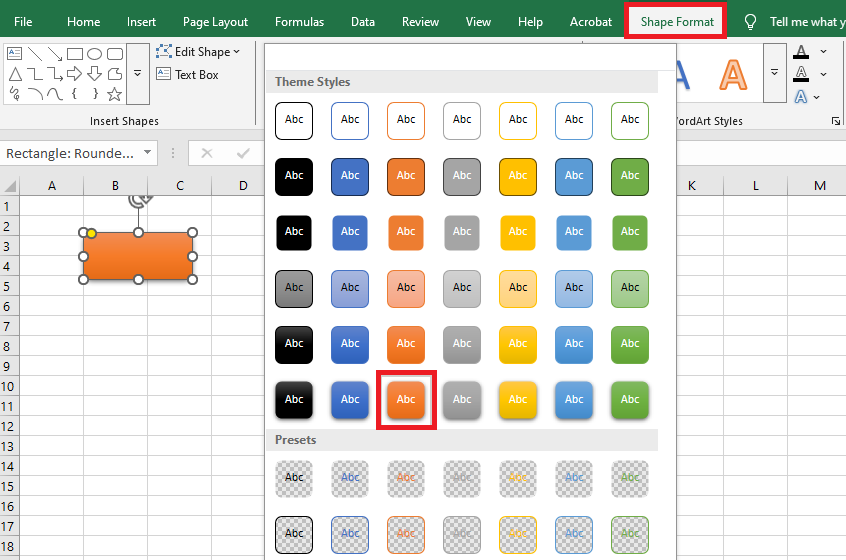
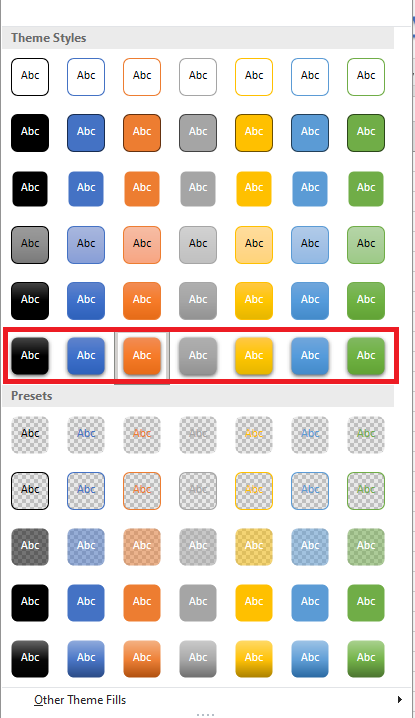
- Select the shape, go to Shape Format, then Shape Styles > More.

- Choose a style like Intense Effect (for a 3D shadow).
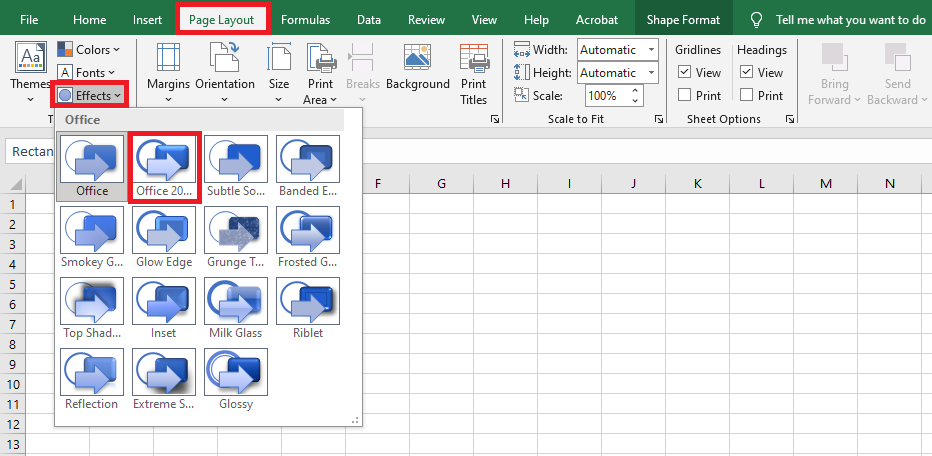
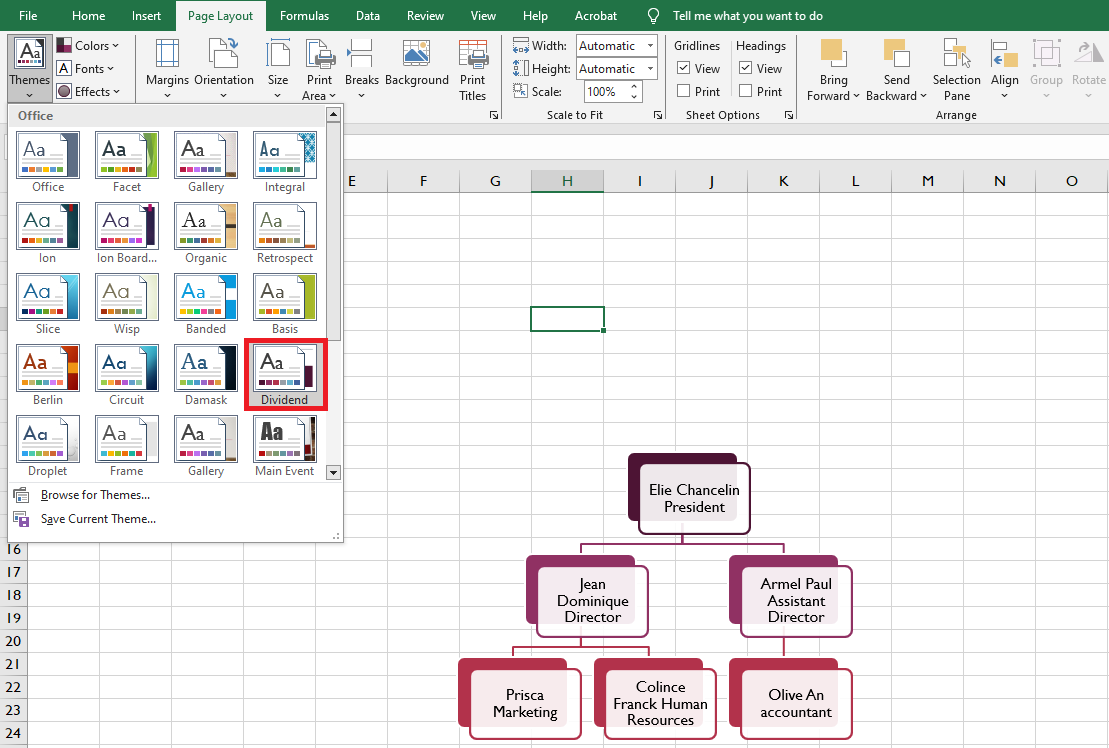
- For consistent styling, go to Page Layout > Themes > Effects > Office 2007-2010.
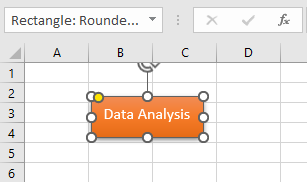
To add a label:
- Right-click the shape, type the button text, then click the border to exit text-edit mode.
- Format the text (bold, size, alignment) via the Home tab.
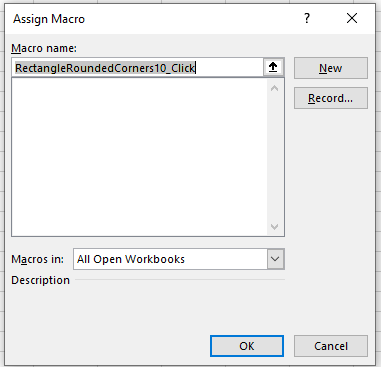
To assign a macro:
- Right-click the shape > Assign Macro…
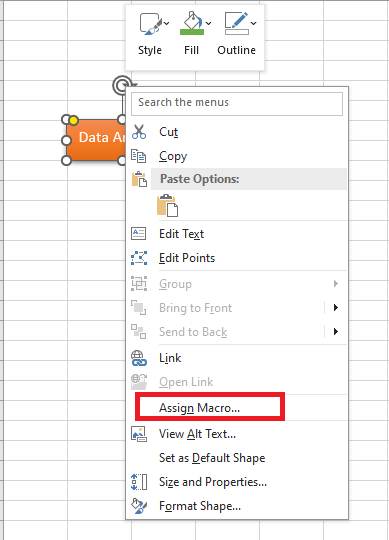
- Choose the macro from the list > Click OK.
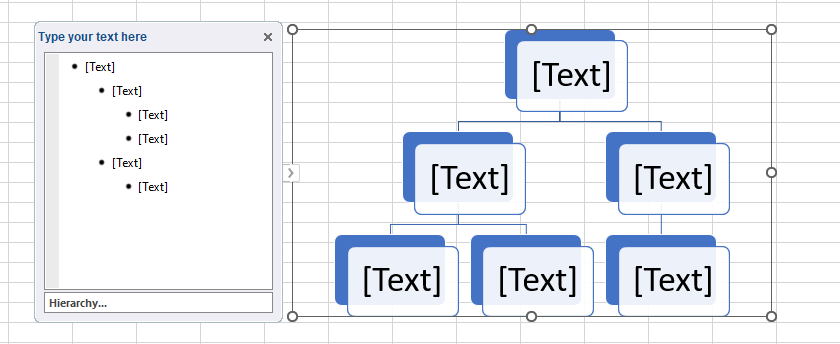
SmartArt Graphics
SmartArt lets you visualize information with graphics rather than plain text. It offers various styles for different concepts.
To insert a SmartArt graphic:
- Place the cursor where you want it to appear.
- Go to Insert > Illustrations > SmartArt.

- A dialog opens: select a category, pick a graphic,
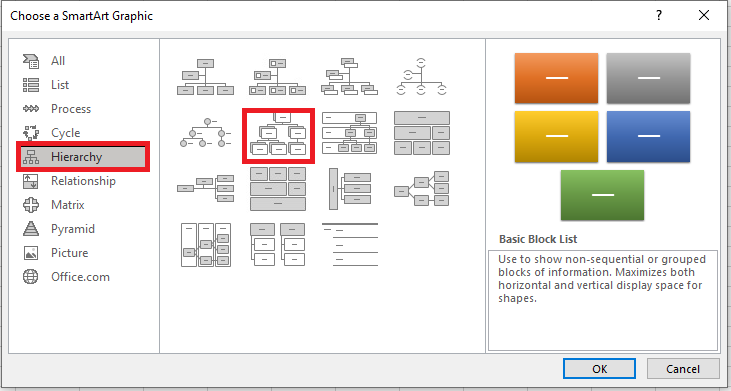
then click OK.
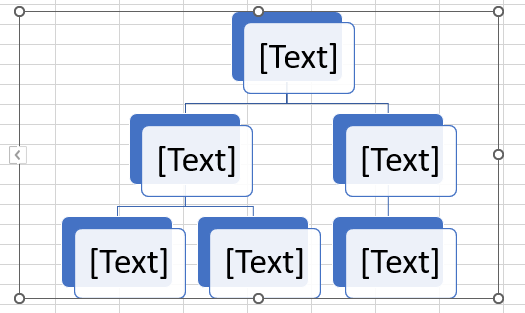
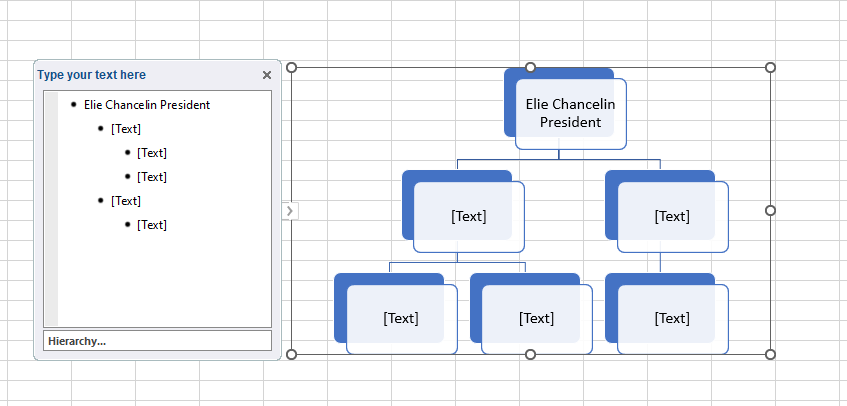
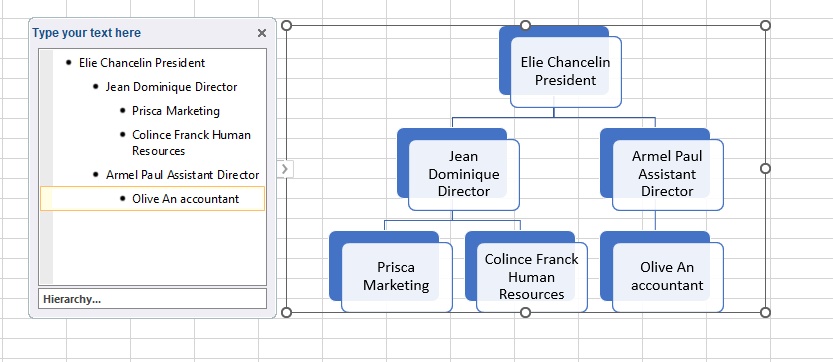
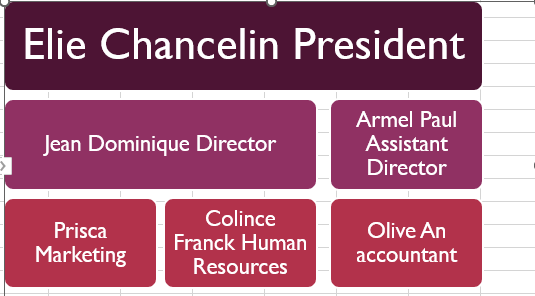
To add text:
- Select the SmartArt. The SmartArt pane opens on the left.
- Enter text next to each bullet. The text appears inside the shapes.
- Press Enter to add more bullets and shapes. To delete, remove bullets.
Alternatively, click a shape to type directly. For complex graphics, the pane is faster.
Editing SmartArt Layout
To add a shape:
- Select the SmartArt and go to the Design tab.
- Select a nearby shape.
- Click Add Shape, then choose:
- Add Shape Before/After (same level)
- Add Shape Above/Below (different level)
To rearrange:
- Select the SmartArt > Design tab.
- Select the shape.
- Click Move Up/Down to change its order—subordinate shapes move with it.

Customizing SmartArt
Use the Design and Format tabs to customize:
- Click Change Colors to use a color scheme from your document’s theme.
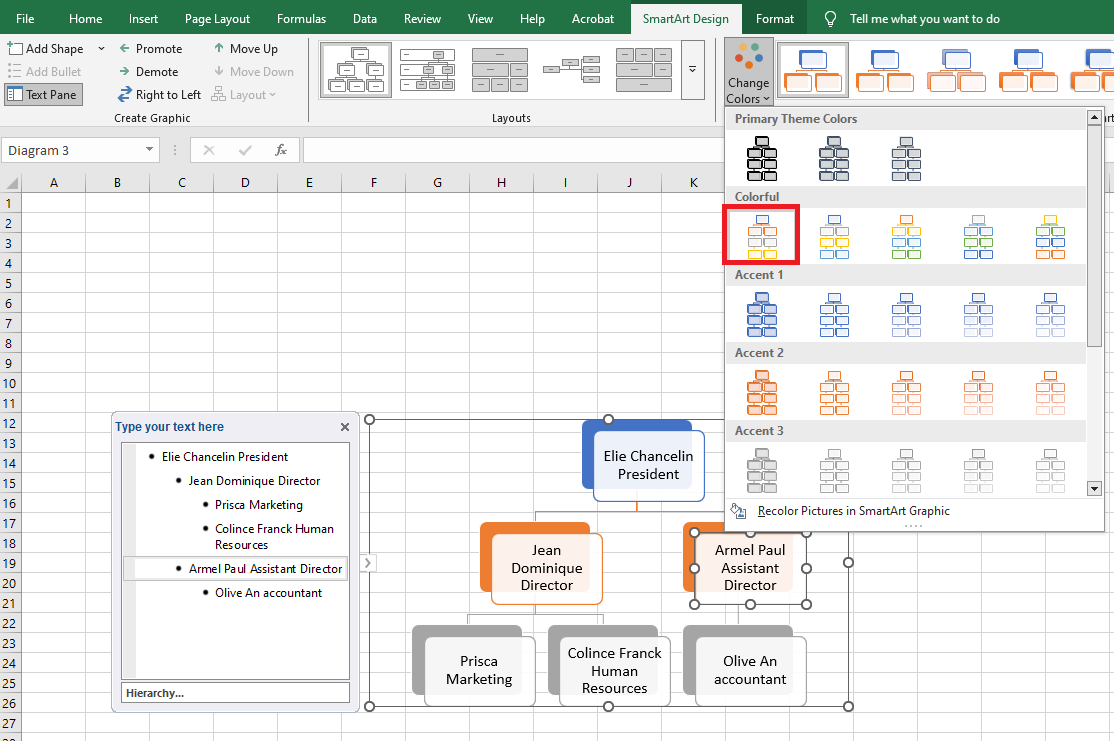
- Color sets vary by theme.
Changing SmartArt Layout
To modify the layout:
- Select the SmartArt > Design tab.
- In the Layouts group, click the dropdown for more layouts.

- Pick a new layout. If it’s too different, some text may not display
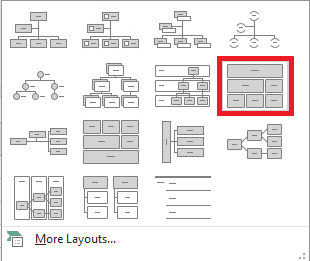
Verify before confirming.
WordArt
You can enhance a spreadsheet by formatting cells and fonts, or by using WordArt—a powerful feature in Excel. For instance, you might use it to style a range header instead of regular text.
Inserting WordArt
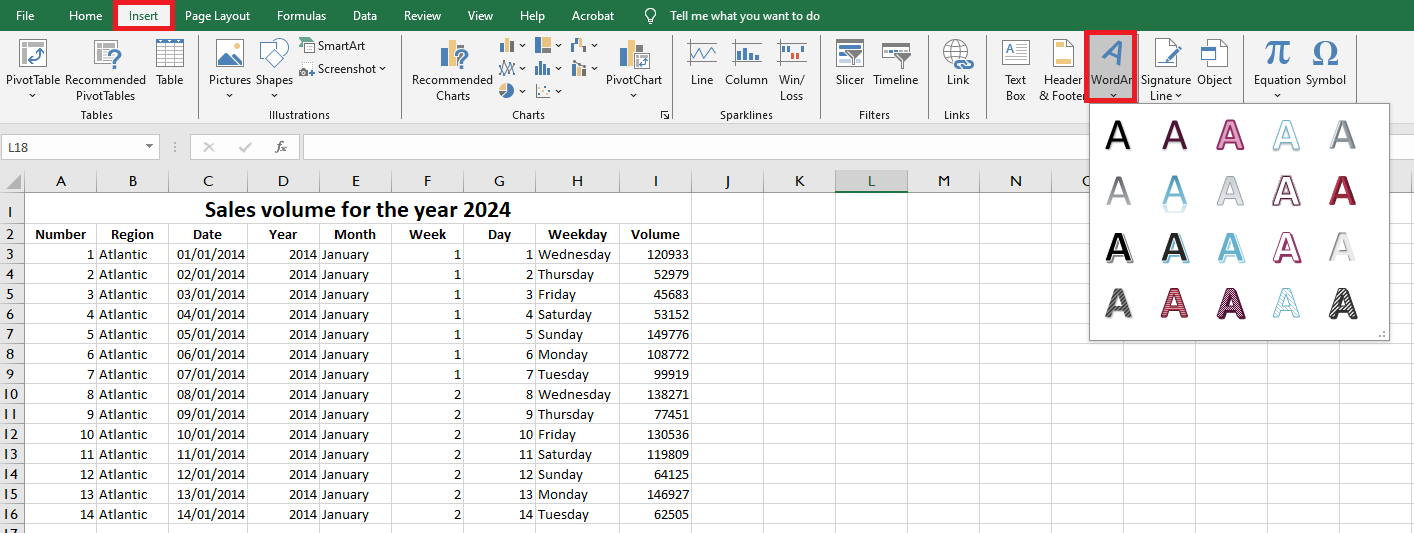
To insert WordArt:
- In the worksheet, go to the Insert tab.
- Click Text > WordArt.
- A dropdown appears with multiple styles—choose one.
- Type your text in the box.
![]()
- Click anywhere else on the sheet to complete.
Editing WordArt
After insertion:
- Move it to the right place (e.g., top of the sheet for a header).
- Clicking it activates Drawing Tools.
- Under Shape Styles, pick a default or custom style.
- Under WordArt Styles, format the text’s color, outline, and effects.
The result is often more visually appealing than regular font formatting—consider using WordArt next time to enhance your spreadsheet’s appearance.