Although Microsoft Excel is primarily used as a calculation program, in some situations, you may want to store images with your data and associate an image with a specific piece of information.
For example:
- A sales manager creating a product spreadsheet might want to include a column with product images,
- A real estate agent might want to add pictures of various buildings,
- A florist will likely want photos of flowers in their Excel database.
How to Insert an Image in Excel
All versions of Microsoft Excel allow you to insert images stored anywhere on your computer or a connected network. You can also add images from web pages or online storage such as OneDrive, Facebook, or Flickr.
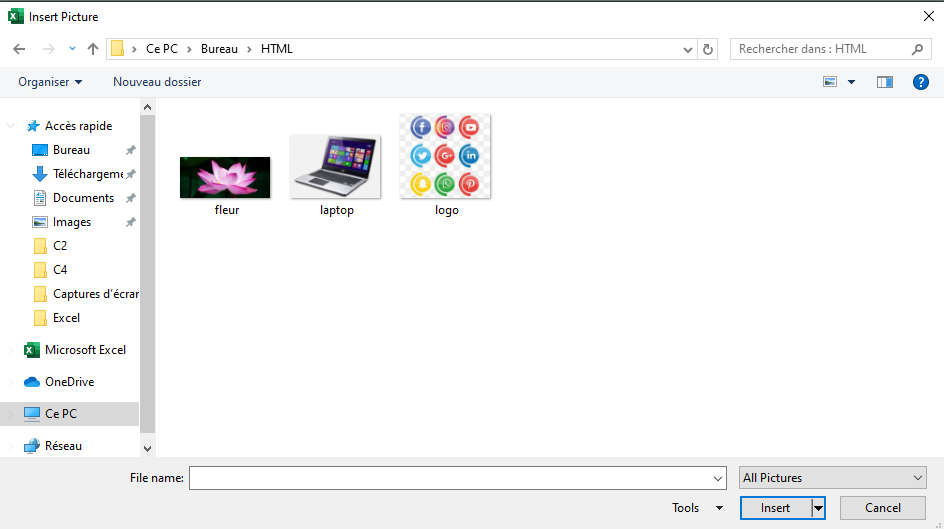
Insert an Image from Your Computer
Inserting an image from your computer into an Excel worksheet is simple. Just follow these 3 quick steps:
- In your Excel worksheet, click where you want to place the image.
- Go to the Insert tab, in the Illustrations group, click Pictures, then choose This Device…

- In the Insert Picture dialog box that opens, locate and select the image you want, then click Insert.
The image will appear near the selected cell, specifically with its top-left corner aligned with the cell’s top-left corner.
To insert multiple images at once, hold down the Ctrl key while selecting the images, then click Insert.
You can now reposition or resize your image, or even lock it to a specific cell so that it resizes, moves, hides, or filters along with the associated cell.
Insert an Image from the Web, OneDrive, or Facebook
You can also add images from web sources using Bing Image Search. Here’s how:
- On the Insert tab, click Online Pictures.

- A window will appear. Type what you’re looking for in the search bar and press Enter.
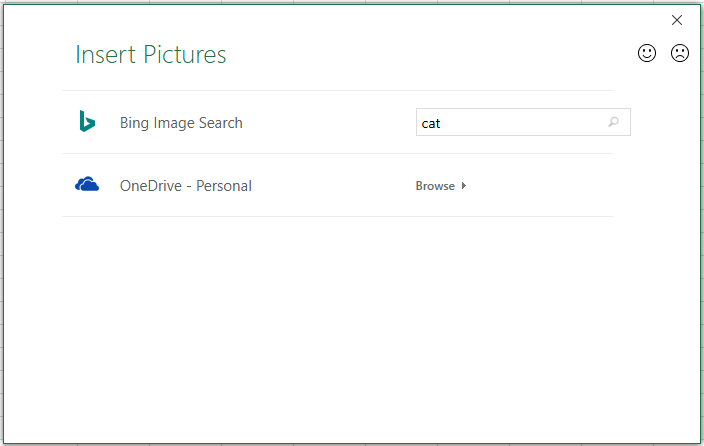
- From the search results, click to select your preferred image, then click Insert.
You can also select multiple images to insert all at once.
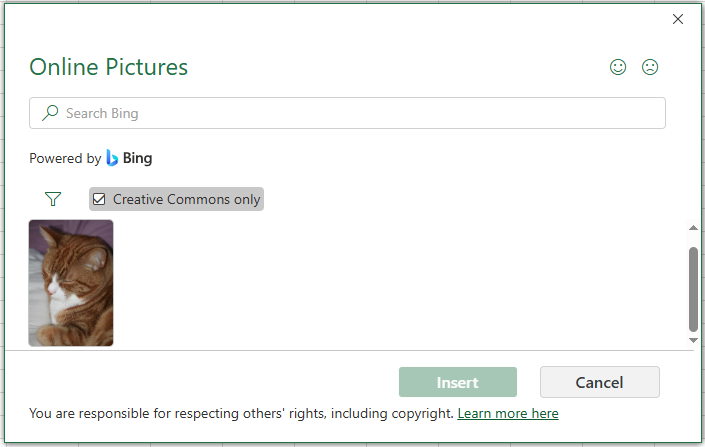
If you’re looking for something specific, use the filters at the top of the search results to sort by size, type, color, or license.
In addition to Bing search, you can insert images stored on OneDrive, Facebook, or Flickr.
Paste an Image from Another Program
The simplest way to insert an image from another application into Excel is:
- Copy an image from another app (e.g., Paint, Word, or PowerPoint) using Ctrl + C.
- Return to Excel, select the desired cell, and press Ctrl + V to paste the image.

How to Insert an Image into a Cell
Typically, an image in Excel “floats” on a separate layer.
To insert an image into a cell (so it behaves like part of the cell):
- Resize the inserted image to fit into a cell. Resize or merge cells if necessary.
- Right-click the image and select Format Picture…
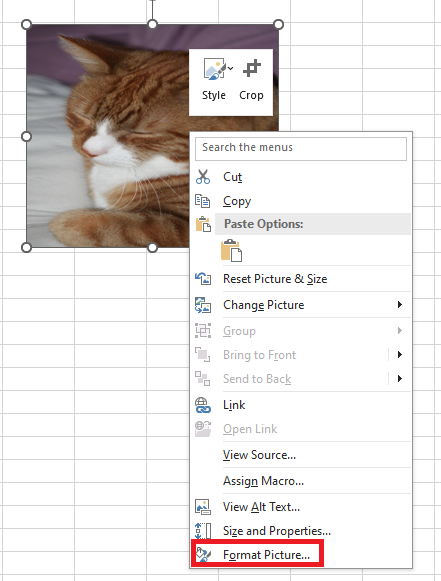
- In the Format Picture pane, go to the Size & Properties tab and select Move and size with cells.

Repeat for each image. You can even place multiple images in a single cell if needed.
As a result, your Excel sheet will be neatly organized with images linked to specific data.
When you move, copy, filter, or hide the cells, the images will follow accordingly.
Embed an Image in a Header or Footer
To insert an image in a worksheet’s header or footer:
- Go to the Insert tab, in the Text group, click Header & Footer.
- Click in the Left, Center, or Right header section. For footers, click “Add Footer” and select a section.
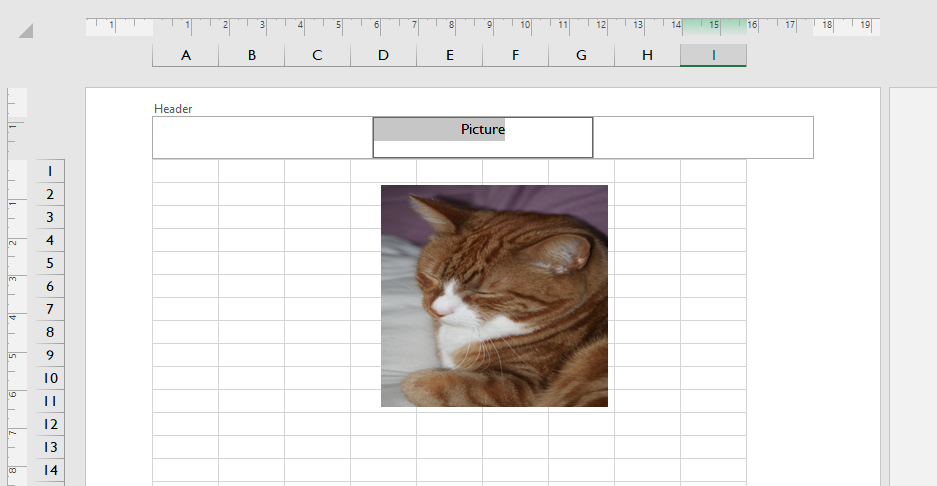
- Under the Header & Footer tab, in the Header & Footer Elements group, click Picture.
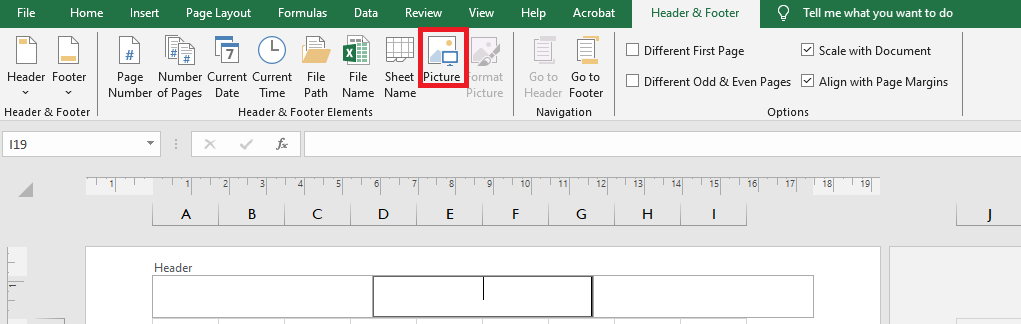
- In the dialog box, browse and insert your desired image. A placeholder will appear; click outside the header to display the image.
Insert Data from Another Sheet as an Image
Excel allows you to copy content from one sheet and insert it as an image into another sheet.
This is useful for summary reports or printing data from multiple sheets.
You can do this using:
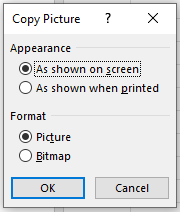
- Copy as Picture: inserts a static image.
- Camera Tool: inserts a dynamic image that updates with changes.
Copy as Picture
- Select the data, charts, or objects.
- On the Home tab, in the Clipboard group, click the dropdown next to Copy, then click Copy as Picture…

- Choose As shown on screen or As shown when printed, then click OK.
- Go to the destination sheet, click where you want the image, and press Ctrl + V.
Use the Camera Tool (Dynamic Image)
To activate the Camera tool:
- Go to File > Options > Quick Access Toolbar.
- Under Choose commands from, select Commands Not in the Ribbon.
- Find and select Camera, then click Add > OK.
- The Camera icon now appears on the toolbar.
![]()
To use it:
- Select the cell range to capture.
- Click the Camera icon.
- Click the destination location in another sheet.
This creates a “live” image that updates automatically with changes in the source cells.
How to Modify an Image
Once inserted, you may want to reposition, resize, or style the image. Below are some common operations.
Copy or Move an Image
To move an image:
- Select it, then drag it with your mouse (the pointer turns into a four-sided arrow).
- Hold Ctrl and use arrow keys to move it pixel-by-pixel.
- To move to another sheet or workbook, press Ctrl + X, then Ctrl + V in the new location.
To copy an image:
- Select it and press Ctrl + C, then Ctrl + V to paste.
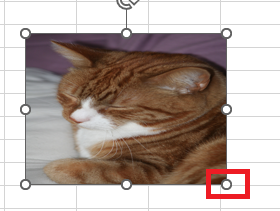
Resize an Image
The easiest way to resize an image is by dragging the corner handles.
To preserve the aspect ratio, drag from a corner.
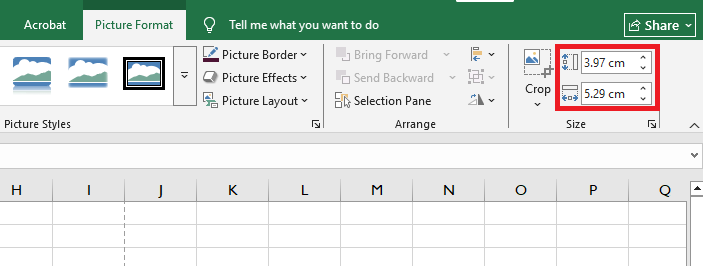
Alternatively, use the Picture Tools > Format tab to enter exact width and height (in inches).
Entering one value will automatically adjust the other proportionally.
Change Image Colors and Styles
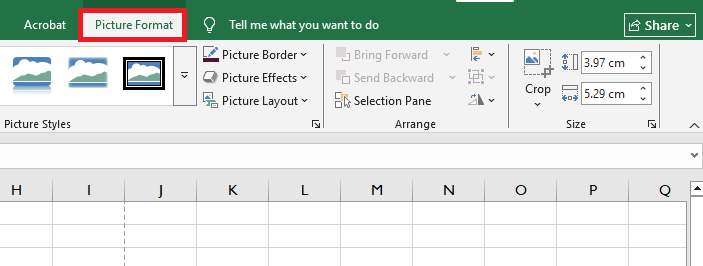
Excel offers many built-in effects for images. To access them, select the image and go to the Format tab under Picture Tools.
Useful options:
- Remove Background
- Corrections (brightness, contrast, sharpness)
- Color (tone, saturation, recoloring)
- Artistic Effects (paint/sketch-like)
- Picture Styles (borders, 3D effects, shadows)
- Picture Border
- Compress Pictures (to reduce file size)
- Crop
- Rotate (flip vertically/horizontally)
To restore original format and size, click Reset Picture.
Replace an Image
To replace an image:
- Right-click the image, select Change Picture, choose the new source (from file or online), select the image, and click Insert.
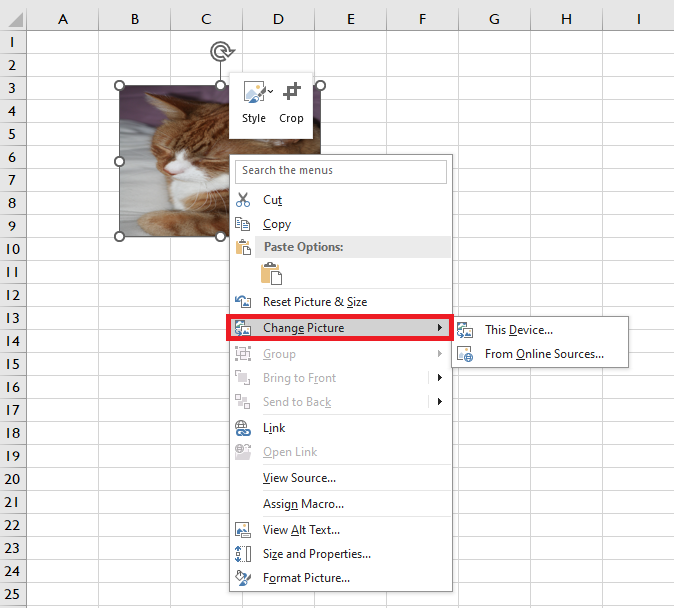
The new image will retain the same formatting and position as the previous one.
Delete an Image
To delete a single image:
- Select it and press Delete.
To delete multiple images:
- Hold Ctrl while selecting multiple images, then press Delete.
To delete all images:
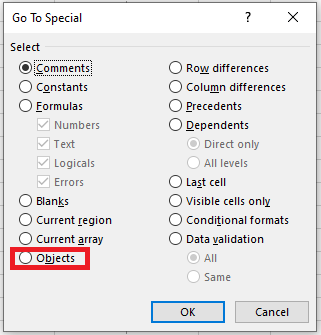
- Press F5 to open the Go To dialog.
- Click Special…, select Objects, and click OK.
- All objects (images, shapes, WordArt, etc.) will be selected. Press Delete to remove them.
Be careful: this selects all objects on the sheet—ensure no important items are included before deleting.