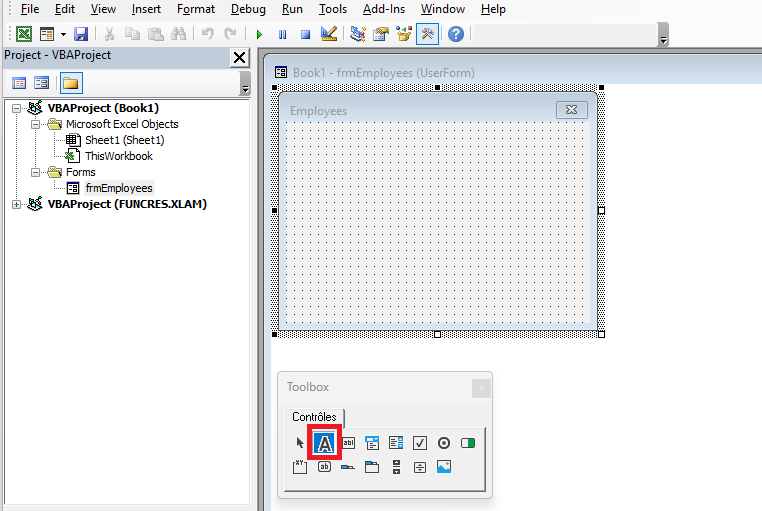
VBA supports these and other controls, which are accessible to you from the VBE toolbox. To display the toolbox so you can easily input the commands you want, you can click on the Toolbox icon or click View Toolbox, as shown in the following figure.

Displaying the Toolbox
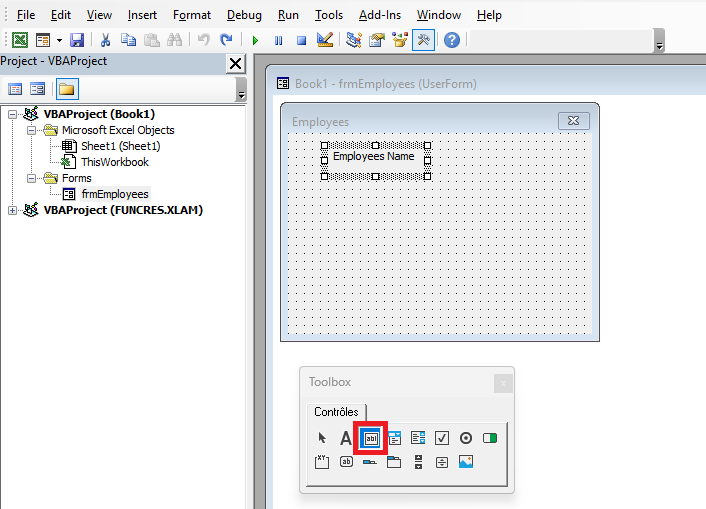
The controls you place on your UserForm depend on its purpose. If you want to design a simple form to collect information about your company’s employees, you will at least want to know the employees’ names and their job titles. It would be helpful to display a text box for entering the employee’s name, then a list of the company’s job titles so the user can easily select one. The following figure shows the toolbox with the mouse hovering over the Label control icon.

Overview of the Toolbox
You place a control on your UserForm by drawing it on the design area of your UserForm. All you have to do is click the control icon in the Toolbox that you want to add to the UserForm and draw it just like you would draw a Shape object on a worksheet. The following figure shows a Label control that has just been drawn, displaying its default caption of “Label1.”
Label Control

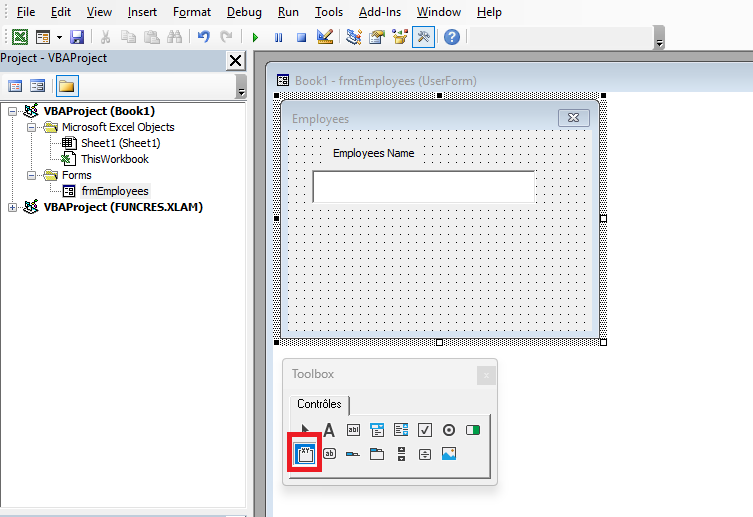
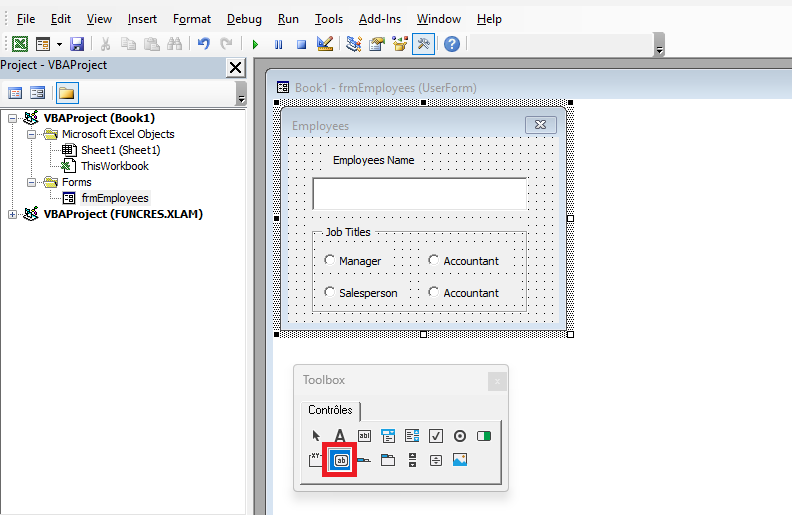
Note in this figure that the Caption property of the Label is selected in the Properties window, so a more meaningful caption can be added to the label. Since the label will be directly above the text box and the purpose of the text box is to enter an employee’s name, the label’s caption is changed to “Employee Name,” as shown in the following figure. Also note in the next figure that the TextBox icon is about to be selected in the toolbox as you prepare to draw a TextBox control on the UserForm beneath the label.
TextBox Control
After clicking the TextBox icon in the toolbox, you add a TextBox control by drawing it in the design area of the UserForm, just as you did when you added the Label control. The following figure shows the drawn TextBox, positioned beneath the label, and reasonably wide enough to accept and display a person’s name. Meanwhile, as shown in the next figure, the Frame icon is about to be selected to place a Frame control on your UserForm.
Frame Control
The following figure shows your Frame control that has just been drawn, with its default caption of “Frame1.” Frames are a good way to visually group other controls together by containment, usually with an underlying theme. In the case of this sample UserForm, the company’s job titles will be contained in such a way that the user can only select one.
Overview of the Frame Control
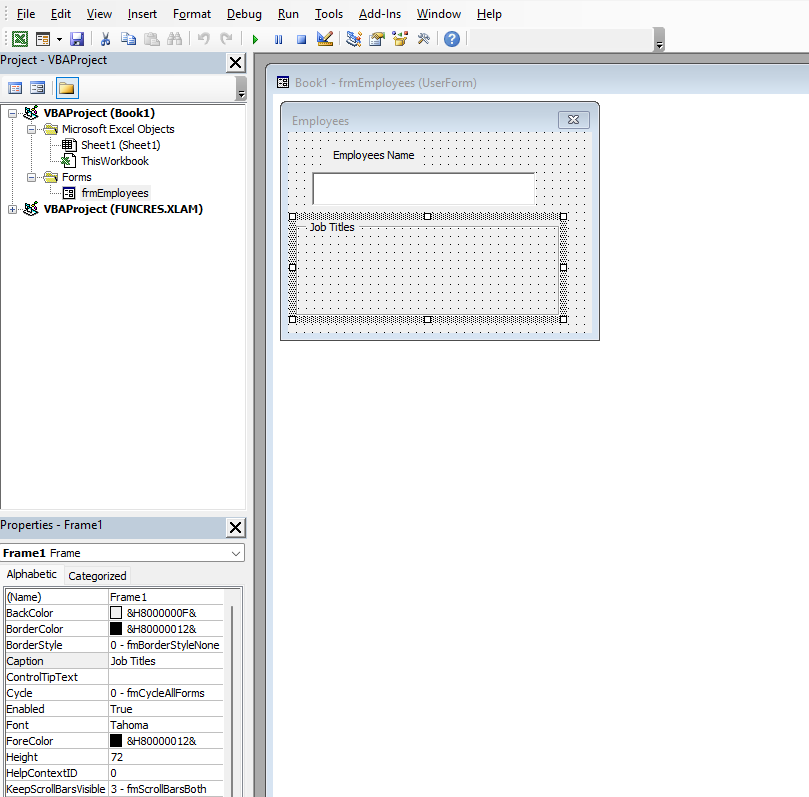
The Caption of a Frame control is an effective way to describe a Frame. In the previous figure, the Caption property of your new Frame is selected so you can change the default caption (“Frame1”) to a more useful description. In the next figure, the default caption “Frame1” has been replaced by “Job Titles.” Now that the frame caption has been taken care of, Figure 14.13 also shows that the OptionButton icon in the toolbox is about to be selected. Since an employee would only hold one job title, you can arrange a series of option buttons inside the frame to represent the different job titles in the company, where only one can be selected.
Option Buttons in the Frame
In the following figure, two CommandButtons have been added, completing the UserForm’s interface design. One of the CommandButtons is labeled “OK,” which is a common and intuitive caption allowing users to confirm their data entries. The other CommandButton is a “Cancel” button to allow users to completely exit the UserForm if they wish.
Adding Command Buttons
