Inserting a Row or a Column
You can insert a row anywhere in a worksheet as needed. Excel shifts the existing rows downward to make room for the new one.
To insert a row:
-
Click anywhere in the row below where you want the new row to appear.
-
Select Insert Rows from the menu bar.

A new row is inserted above the originally selected cell(s).
Alternatively:
-
Click anywhere in the row below where you want the new row.
-
Right-click and choose Insert from the context menu.

The Insert dialog box appears.
-
Choose Entire Row.
-
Click OK.
A new row is inserted above the originally selected cell(s).

To insert multiple rows, select the same number of rows before choosing Insert. Excel inserts the same number of new rows as you originally selected.
You can also insert a column anywhere in a worksheet. Excel shifts the existing columns to the right to make space for the new one.
To insert a column:
-
Click anywhere in the column where you want to insert a new column.
-
Choose Insert Columns from the menu bar.
A new column is inserted to the left of the existing column.
Alternatively:
-
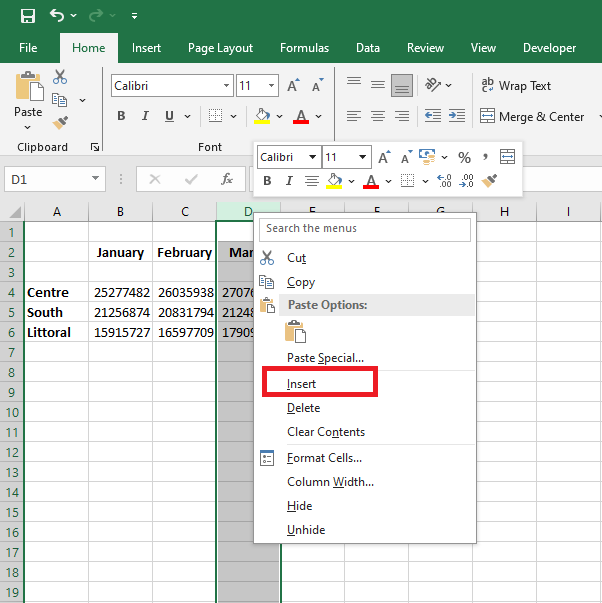
Click anywhere in the column where you want to insert the new column.
-
Right-click and choose Insert from the context menu.
The Insert dialog box appears.
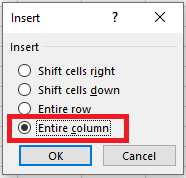
-
Click Entire Column in the Insert dialog box.
-
Click OK.
A new column is inserted to the left of the existing column.
You can also select multiple columns before choosing Insert to quickly add multiple columns. Excel inserts the same number of new columns as originally selected.
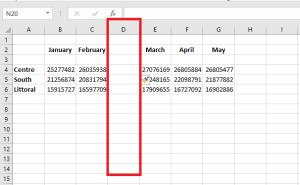
Deleting Columns and Rows
Deleting columns and rows works the same way as inserting them.
To delete a row and all its contents:
-
Select a cell in the row to delete.
-
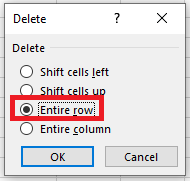
Choose Edit > Delete from the menu bar.
-
In the Delete dialog box, click Entire Row.
-
Click OK.
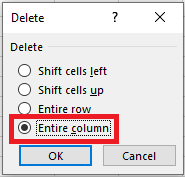
To delete a column and all its contents:
-
Select a cell in the column to delete.
-
Choose Edit > Delete from the menu bar.
-
In the Delete dialog box, click Entire Column.
-
Click OK.