From the Insert Tab
You can use a header to include the same information at the top of each printed page, or a footer to include information at the bottom of each page. You can enter your own custom headers or footers, insert built-in ones, or add specific elements such as images or page numbers.
To add a header or footer:
-
Click the Insert tab.
-
Click the Text button.
-
Select Header & Footer.
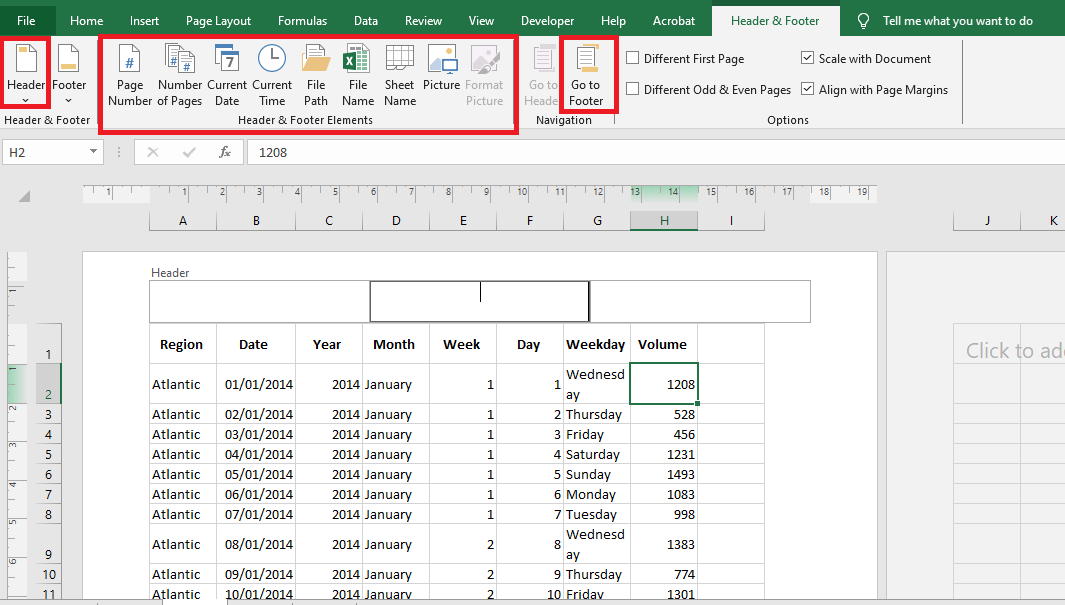
 The Header & Footer view appears, and the header section becomes active. Click in the header section where you want to add text.
-
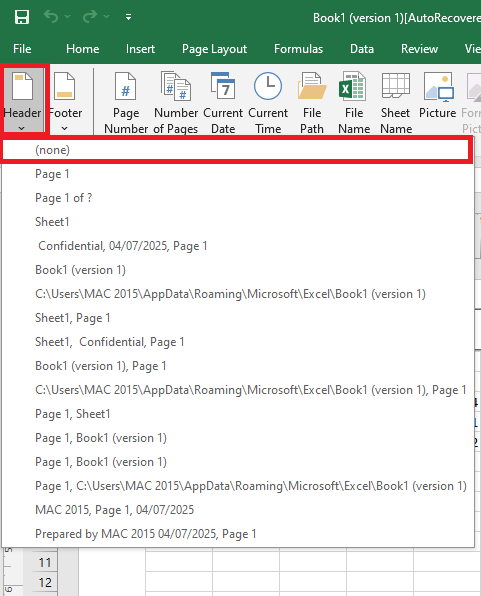
Enter a custom text or select a predefined header from the Header & Footer Elements group or the Header dropdown menu.
-
To view the footer section, click the Go to Footer button.
-
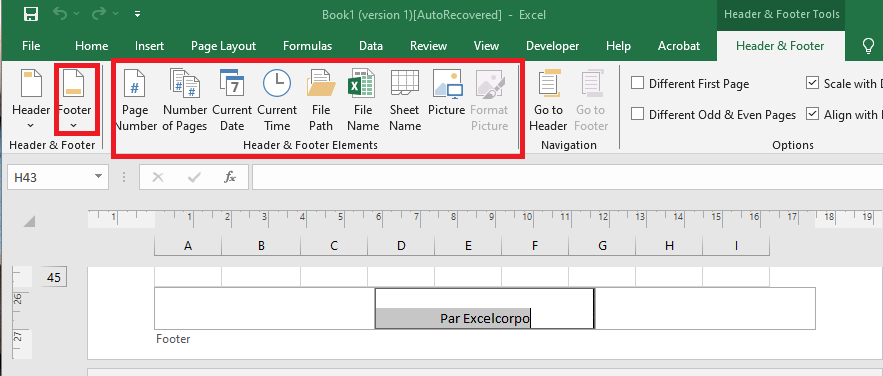
Click in the footer section where you want to add text.
-
Enter custom text or select a predefined footer from the Header & Footer Elements group or the Footer dropdown menu.
Headers and footers can be formatted using the commands in the Font group on the Home tab. The Header & Footer Elements group provides a variety of built-in options that you can use:
| Button | Description |
|---|---|
| Page Number | Displays the correct page number for each page |
| Number of Pages | Displays the total number of pages in the worksheet |
| Current Date | Displays the current date |
| Current Time | Displays the current time of day |
| File Path | Displays the file name and path of the workbook |
| File Name | Displays the name of the workbook |
| Sheet Name | Displays the name of the worksheet |
| Picture | Opens the Insert Picture dialog to insert an image file |
| Format Picture | Available after inserting a picture; lets you resize or adjust brightness/contrast |
To add a header and footer from the Page Layout tab:
-
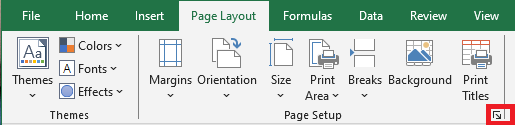
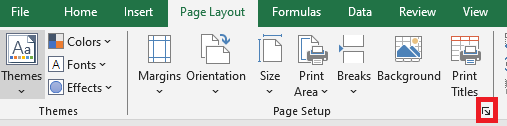
Click the Page Layout tab.
-
In the Page Setup section, click the Dialog Box Launcher on the bottom-right corner.
-
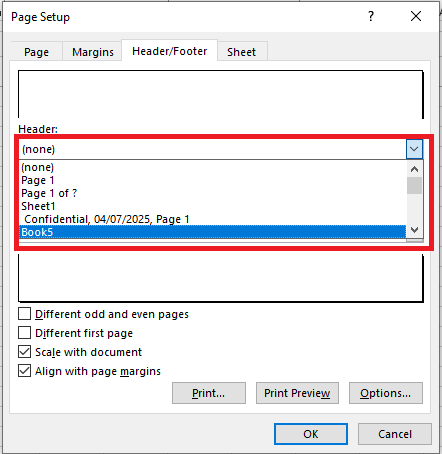
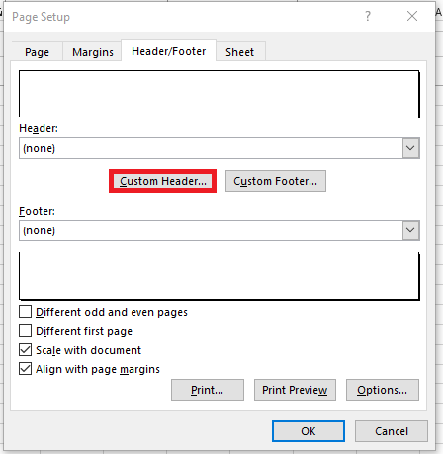
Click the Header/Footer tab.
-
Use the Header dropdown to choose a built-in header.
-
Use the Footer dropdown to choose a built-in footer.
-
Click the Custom Header button.
-
Click the Custom Footer button.
-
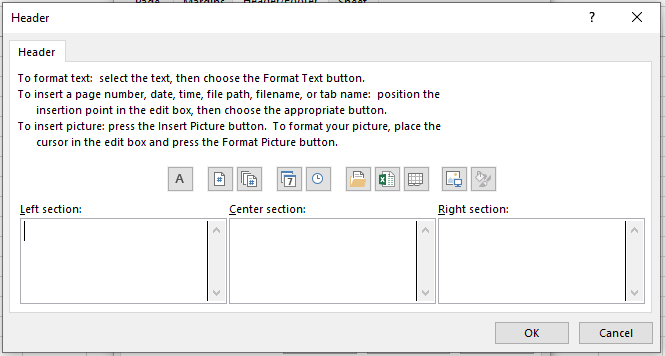
Select one of the sections (left, center, or right) to place the header or footer text.
-
Type your desired header or footer text.
-
Select the text and click the Format Text (A) button to apply font styling.
-
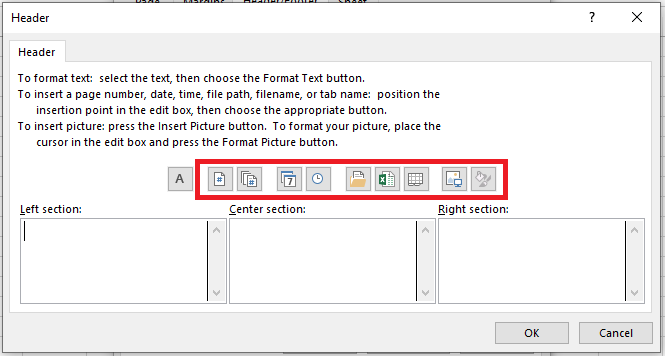
Click any of the buttons to insert a built-in element, including:
-
Insert Page Number
-
Insert Total Pages
-
Insert Date
-
Insert Time
-
Insert File Path
-
Insert File Name
-
Insert Sheet Name
-
Insert Picture
-
Click OK.
-
Click OK again.
Once completed, the header and footer will be applied to the worksheet you’re editing. If you do not see the changes, click the View tab, and under “Workbook Views,” click Page Layout.
How to Remove Headers and Footers
If you are tasked with editing and removing headers and footers from a document, you can do so in at least two ways.
From the Insert Tab
To remove the header and footer using the Insert tab:
-
Open Microsoft Excel.
-
Open the document you want to modify.
-
Click the Insert tab.
-
In the Text section, click Header & Footer.
-
In the Header & Footer tools, click the Header button and select None.
-
Still under Text, click Header & Footer again if necessary.
-
In the Footer button, select None.
-
Click the View tab.
-
Under “Workbook Views,” click Normal to exit Page Layout view.
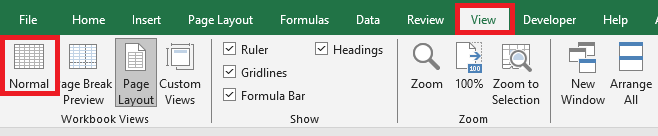
After completing these steps, the header and footer will be removed from your Excel worksheet.
From the Page Layout Tab
To remove the header and footer using the Page Layout tab:
-
Open Microsoft Excel.
-
Open the document you want to customize.
-
Click the Page Layout tab.
-
In the Page Setup section, click the Dialog Box Launcher on the right.
-
Click the Header/Footer tab.
-
From the Header dropdown, select None.
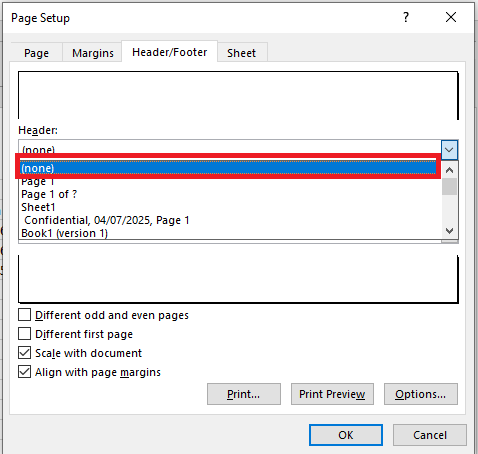
-
From the Footer dropdown, select None.
-
Click OK.