Excel tables are dynamic and can easily be resized to include more or fewer rows and columns, depending on the evolving needs of your data. There are three main ways to resize a table:
-
Adding or removing rows and columns
-
Using the « Resize Table » command
-
Dragging the table corner to adjust its range
Adding or Removing Rows and Columns
Even after a table has been created, you can expand or reduce its size by adding or deleting rows or columns. Whether you insert data directly adjacent to the table or within its current range, Excel automatically applies the table’s formatting style.
To quickly insert a row or column adjacent to a table:
-
Click in a blank cell next to the table’s current boundary.
-
Enter a value into that cell.
-
Press Enter or click elsewhere to confirm. Excel will automatically include the new cell within the table range and apply the existing formatting.
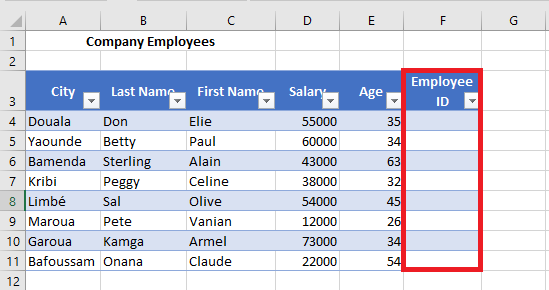
Note: When you type a formula into an empty column of a table, Excel automatically propagates that formula throughout the column — even for newly inserted rows — without needing to use AutoFill manually.
To insert a row or column using the Ribbon:
-
Select any cell within the table, directly next to where you want to add the new row or column.
Note: You cannot select a column header to use these insertion options. -
Go to the Home tab, click on the Insert drop-down arrow.
-
Choose one of the following options:
-
Insert Table Rows Above – adds a new row above the selected row.
-
Insert Table Columns to the Left – adds a new column to the left of the selected column.
-


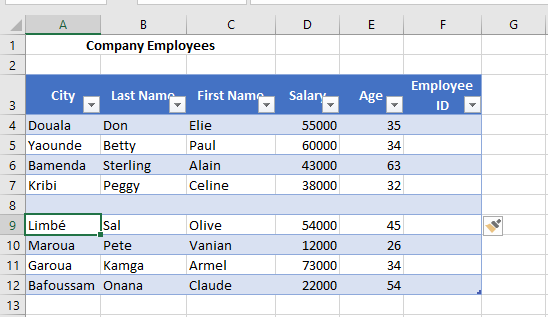
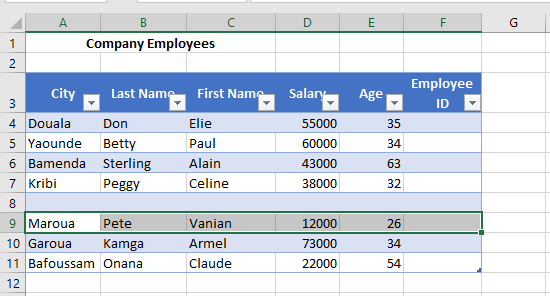
To delete unwanted rows or columns from a table:
-
Select a cell within the row or column you want to remove.
-
Click the Delete drop-down from the Ribbon.
-
Choose:
-
Delete Table Rows
-
Delete Table Columns
-
Resizing a Table Using the « Resize Table » Command
The Resize Table command allows you to explicitly define a new data range for the table. This method is especially useful when you want precise control over the dimensions of the table.
Steps:
-
Click on any cell inside the table.
-
Go to the Table Design tab (visible only when a table cell is selected).
-
Click on Resize Table.
-
In the input field that appears, type the new range you want for the table (e.g.,
A1:E14).

-
Click OK.

The table will be resized accordingly, either expanding or contracting to fit the specified range.
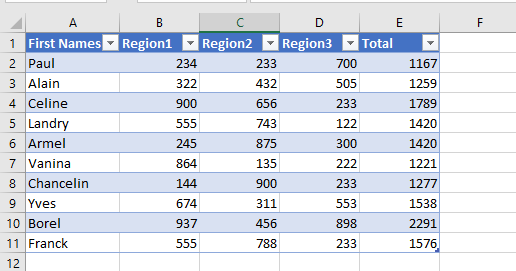
Resizing a Table by Dragging Its Corner
You can also manually resize a table by using the resize handle — a small icon located at the bottom-right corner of the table.
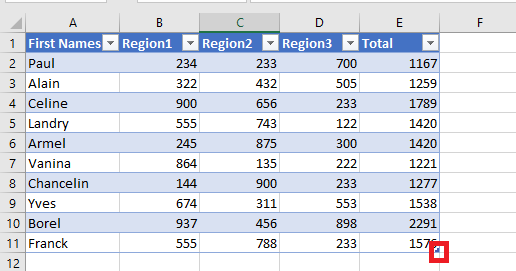
To reduce the table size:
-
Hover over the bottom-right corner of the table until the resize handle appears.
-
Click and drag inward to the desired range, e.g., from
A1:E11toA1:B11.
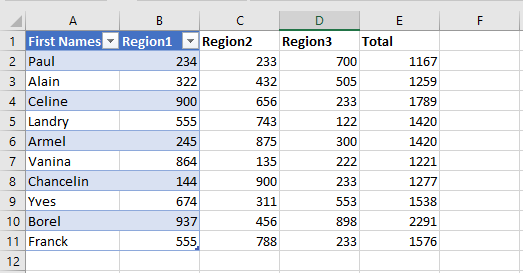
Note: Cells outside the new table range are no longer part of the table structure, lose their formatting, and no longer participate in formulas referencing the table.
To expand the table size:
-
Hover over the bottom-right corner and click the resize handle.
-
Drag outward to include more rows and/or columns, e.g., from
A1:B11toA1:G11.

The newly added cells are automatically formatted to match the existing table style, and the table’s internal links and formulas extend to include them.