As you continuously add content to your spreadsheet, keeping the data organized becomes increasingly important. One of the most effective ways to manage this is by sorting your data. Sorting allows you to rearrange the contents of your sheet to make it easier to analyze or find specific information. For instance, you can sort a contact list alphabetically by last name or sort numerical values in ascending or descending order. Excel offers multiple sorting options, including single-column, multi-column, and even custom or horizontal sorts.
Types of Sorting
Before applying a sort, it’s essential to determine whether you want to sort the entire worksheet or just a specific range of cells:
-
Worksheet Sort: This applies the sort to all rows, keeping data in each row together. It’s useful for entire datasets where each row represents a record.
-
Range Sort: This applies sorting only to a selected portion of the worksheet. It’s ideal when you’re working with multiple tables on a single sheet and only need to sort one of them without affecting the others.
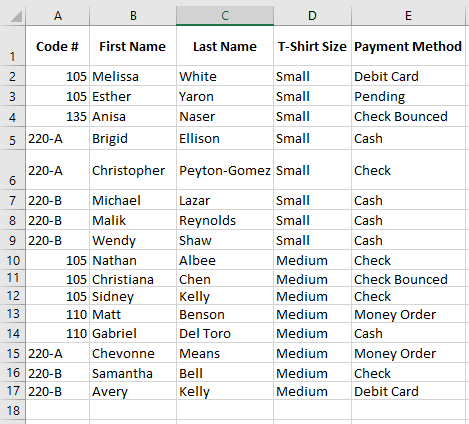
Sorting an Entire Worksheet (Example: by Last Name)
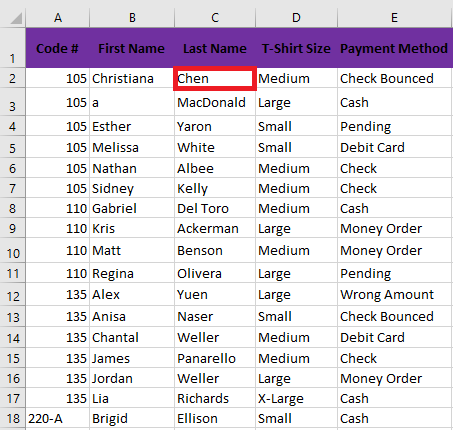
To sort a full dataset alphabetically by a column (e.g., Last Name in Column C):
-
Click a cell in the column you want to sort (e.g., C2).
-
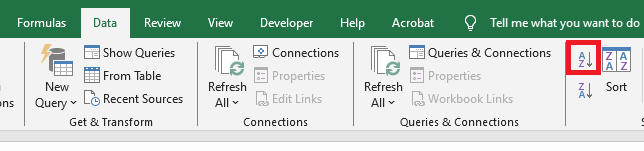
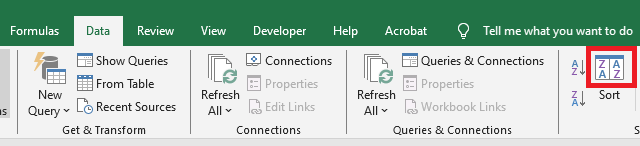
Go to the Data tab and click either A to Z (ascending) or Z to A (descending).
-
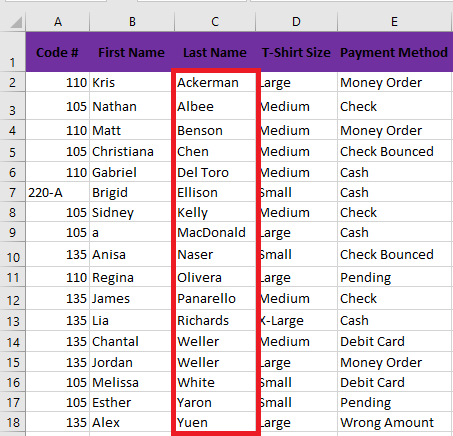
The sheet will be sorted based on the selected column. All rows will adjust accordingly to maintain data integrity.
Sorting a Range Only (Example: by Number of T-Shirts Ordered)
To sort a selected range (e.g., G2:H6) by the number of T-shirts:
-
Highlight the range of cells you want to sort.
-
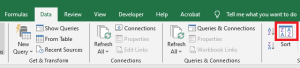
Click the Sort command in the Data tab.
-
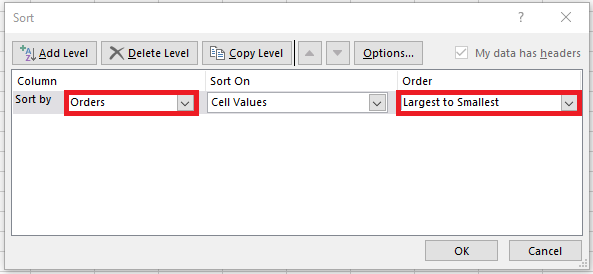
In the Sort dialog box, choose the column to sort by (e.g., « Orders »).
-
Specify the sort order (e.g., Largest to Smallest).
-
Click OK. Only the selected range will be sorted—other parts of the worksheet remain unchanged.

If sorting doesn’t work correctly, double-check for typing errors or inconsistent data formats (e.g., text vs. numbers).
Custom Sorting (Using a Custom List)
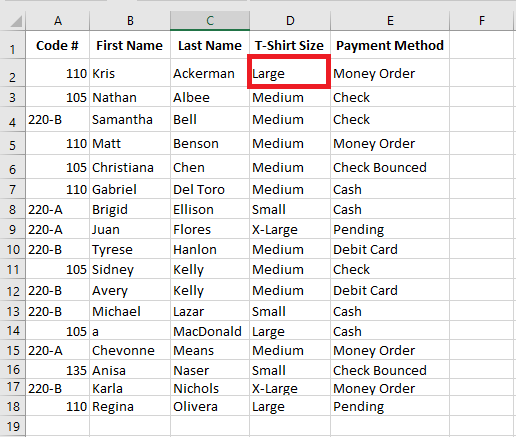
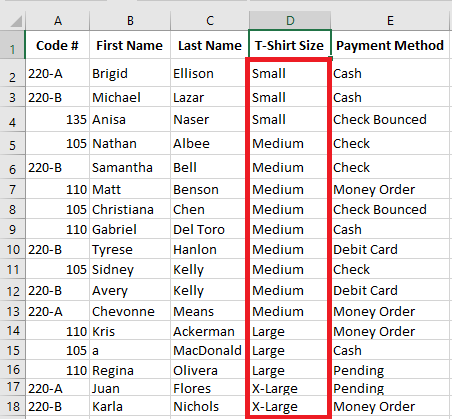
Default sorting in Excel (alphabetical or numerical) may not always suit your needs. When sorting items like T-shirt sizes (Small, Medium, Large, X-Large), alphabetical sorting is inappropriate. Here’s how to apply a custom sort order:
-
Select a cell in the target column (e.g., D2 for T-shirt sizes).
-
Click Sort in the Data tab.
-
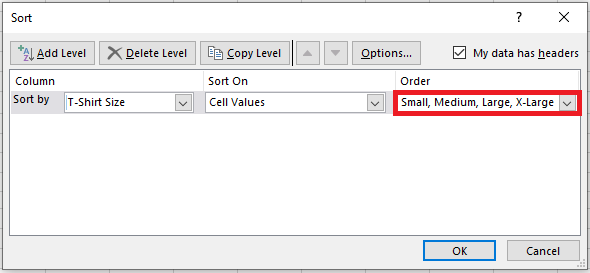
In the Sort dialog, choose the relevant column, then under “Order”, click Custom List.
-
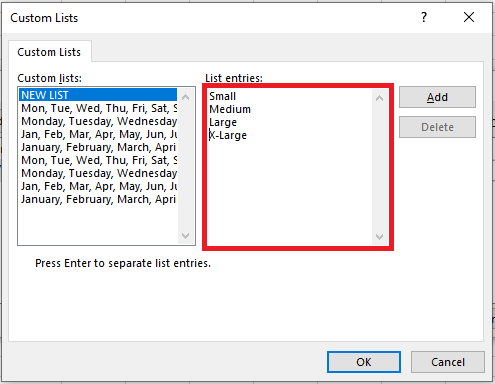
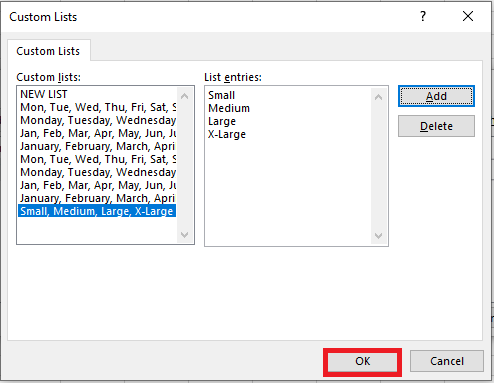
In the Custom Lists window, select New List and type your custom sequence (e.g., Small, Medium, Large, X-Large), pressing Enter after each entry.
-
Click Add then OK to apply the sort.
-
Click OK again in the Sort dialog. Your data will now be sorted according to the custom list.
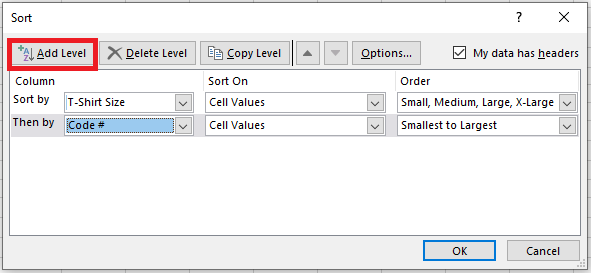
Multi-Level Sorting (Sorting by Multiple Columns)
To gain more control, you can sort data based on multiple criteria (e.g., first by T-shirt size, then by order code):
-
Select any cell in your dataset.

-
Click Sort on the Data tab.
-
In the Sort dialog:
-
Set the first level (e.g., « T-shirt Size ») and choose the custom list as the order.
-
Click Add Level, then define the second level (e.g., « Order Code »).
-
-
Click OK to apply. Excel will first group data by size, then within each group, sort by code.
Sorting Horizontally (By Rows Instead of Columns)
Although most Excel sorts are vertical (by columns), you can also sort horizontally—i.e., rearranging columns based on values in a particular row. This is useful in non-traditional layouts like side-by-side comparisons.
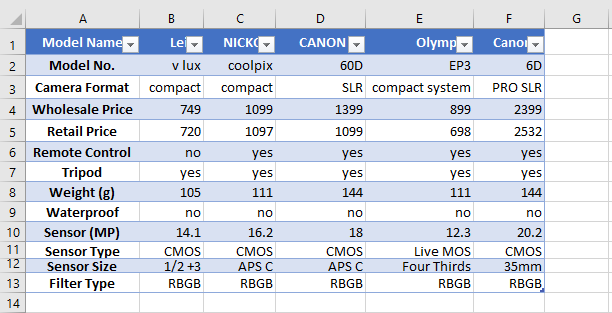
Example: You want to sort camera models based on their names (row 1) or prices (row 4):
-
Select the data range (e.g., B1 to F5). Avoid selecting the first column (A) if it contains feature labels.

-
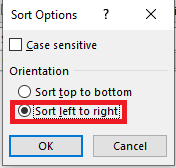
Go to Data > Sort, then click Options in the Sort dialog.

-
In Sort Options, choose Sort left to right, then click OK.
-
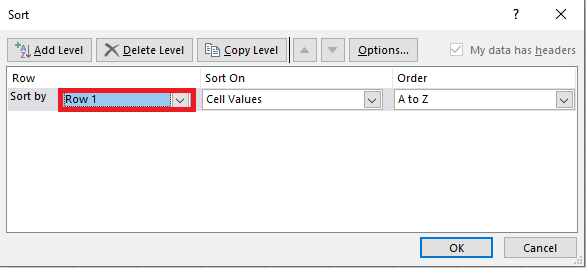
Back in the main Sort dialog:
-
Under “Sort by,” select the row to use (e.g., Row 1 for model names or Row 4 for prices).
-
Choose sort order (A to Z or Smallest to Largest).
-
-
Click OK. Excel will rearrange entire columns based on the selected row’s values.
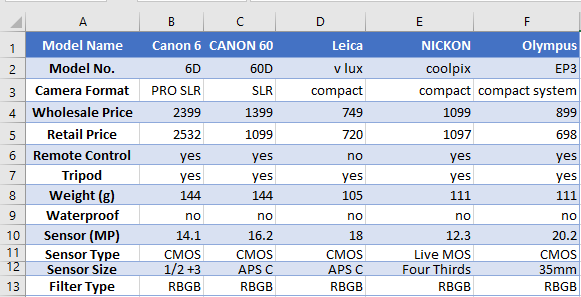
Excel preserves data integrity by moving full columns rather than individual cells.
Note: This horizontal sorting method can be used to sort by any critical parameter—image sensor size, camera weight, resolution, etc.—depending on your specific need.